Do you have an old air conditioner that you want to convert from R12 to R134a? As current vehicles do not use this antiquated refrigerant, bringing your automobile up to specification might be pricey.
Nonetheless, we will assist you with that and demonstrate to you how to accomplish it and how much it will cost.
The trick is to have a functioning AC system in your car. Simply put, you don’t want to be driving on those sweltering summer days with your windows down. They let a little bit of chilly air into the car, but not enough to keep you comfortable and keep you from getting distracted.
And maintaining focus is crucial when using an AC if you don’t want to have an accident during the sweltering summer months. particularly if you reside in the south where it is so hot right now.
And regrettably, a modern refrigerant cannot be used in a classic. Your car has to have some work done as a result. And we’ll assist you in finding the information you require.
We will first go over the fundamentals of these AC systems and discover how they operate. The varieties of refrigerants that these systems employ will next be covered, including R12 and R134a.
The costs associated with converting your previous system to use R134a will thereafter be covered. Finally, we’ll talk about some frequently asked questions about AC systems. Thus, keep reading to discover more about the conversion of R12 to R134a.
An AC System: What Is It In a Car?
An air conditioning system, often known as an AC system, is a system created to keep the interior temperature of the vehicle’s cabin at a specific level.
The cost will determine whether you convert R12 to R134a yourself, have a technician do it for you, or have a dealer do it. If you decide to change R12 to R134a on your own, you may expect to pay the least amount of money. The budget is between $100 and $150 for the real refrigerant and parts.
As old as the automobile itself is the concept of an AC system. Nonetheless, the first of these systems was patented and made available in cars in 1933. This system was initially exclusively accessible in high-end luxury cars.
Nonetheless, there was a huge demand for these AC systems somewhere in the 1950s and 1960s.
The first vehicles to feature this luxury feature, which worked brilliantly and transformed driving in the sweltering summer, were Lincolns and Cadillacs. Not everyone could afford one of these devices back then.
Yet, as quickly as cars advanced, so did the AC systems. With significant advancements, in-car air conditioning was providing good performance for less money. But until recently, most automakers continued to offer them as an option even though most of their lineups now came standard with AC systems.
Nowadays, the likelihood of encountering a vehicle without an air conditioning system is very low. But, not all of us drive brand-new vehicles; some of us still drive vehicles from before 1994.
Therefore, since this old refrigerant is no longer produced, you should think about performing an R12 to R134a conversion if you have an older vehicle.
But more on that will be covered when we go over a few issues, understand how these systems operate, and discover why charging is so important.
How Does the AC System Operate?
Have you ever questioned how this AC system operates? What sort of sorcery does the system use to provide you with cool air? We’ll cover just that in this chapter and show you how this method operates step by step.
The first thing you should be aware of is that your car’s air conditioning system circulates Freon, commonly known as a refrigerant, to keep it cold.
The compressor is the heart of the AC system. The refrigerant is being compressed by this compressor, which creates a gas it.
The heated gas is then forced into the vehicle’s front condenser, where it is cooled by the fan blowing in front of the automobile. The magic happens right here. The condenser is where the compressor’s high-pressure gas is liquefied.
This liquid gas is then forced into the dryer from the condenser. The liquid gas is pumped into the expansion valve at high pressure after passing through a component called the dryer, which removes any moisture from the liquid gas.
This refrigerant is changed from a high-pressure gas to a low-pressure liquid in this expansion valve.
The refrigerant is pumped into the evaporator shortly after it has been converted, where it is again transformed into low-pressure gas form, and then it is put back into the compressor to create another circulation. Where does the magic occur, though?
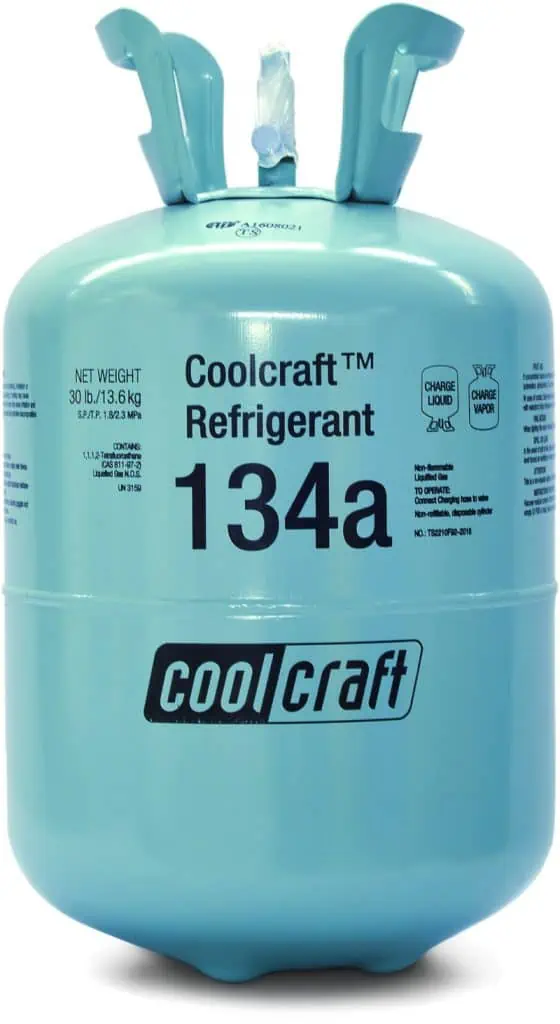
Freon 134a refrigerant for car AC by Suyash.dwivedi / CC BY-SA 4.0. It will be very useful to you if you want to retrofit your system and change from R12 to R134a. You’ll learn what you need to learn by doing what you need to do. The chapters that follow will examine these two types of refrigerants, and in a later section of the essay, we’ll discuss if it is possible to change R12 into R134a.
The evaporator, which resembles a condenser, is where the magic happens. An installed blower motor forces air into the evaporator, which forces cold air into the cabin. What about the conversion from R12 to R134a, though? Later, more on that.
Which are the Refrigerant Types Used In Automotive AC Systems?
Let’s now talk about the various refrigerants. If you wish to retrofit your system and convert from R12 to R134a, this will be very helpful to you. You can learn what you’ll need to do this by understanding the types.
These two types of refrigerants will be covered in the chapters that follow, and in a later section of the article, we’ll talk about whether it’s possible to convert R12 to R134a. So let’s start.
R12: What Refrigerant Is It?
When Thomas Midgley Jr. granted the patent for R12, now known as Freon, it was a revolutionary invention that altered the course of history.
This was because it performed its function admirably, was non-flammable, and was non-toxic. Better than what? R12 ruled the world up until the 1980s when it became clear that this gas was seriously harming the ozone layer.
The R12 was already gradually being phased out at this point, and the R134a has since taken its place entirely.
Nonetheless, a large number of automobiles are still using R12, and their owners are trying to convert their vehicles to R134a. But once we discuss R134a as well, we will talk more about that.
The fact that the R12 was a DuPont creation and was sold under the Freon name is what matters. Hence, if you are looking for a refrigerant online and the term Freon appears, you may be certain that this is an R12.
Freon is highly unlikely to be seen on the shelves, though. Let’s now concentrate on R134a.
R134a: What Refrigerant Is It?
The R12 was replaced by the R134a, which was put on the market. Since these actions were taken to safeguard the ozone layer of our world, this has been the R12’s official substitute since 1987, and its use is strictly forbidden.
And the R134a is an excellent substitute for the R12. It is a non-toxic, non-flammable gas that doesn’t harm the environment, just like R12.
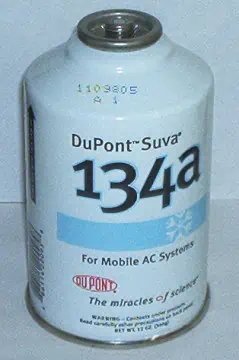
A DuPont refrigerant R134a by Stephanie~commonswiki / CC BY-SA 3.0. The idea of an AC system is as old as the automobile itself. Yet in 1933, the first of these systems was developed and introduced in automobiles. Initially, this system was only available in high-end luxury vehicles. Nonetheless, between the 1950s and 1960s, there was significant demand for these AC systems. The first luxury cars with this feature were Lincolns and Cadillacs; it was a wonderful invention that revolutionized summer driving.
R134a is currently the refrigerant that is used the most in automobiles, thus chances are good that if you have a modern car that was built after 1994, it is already using R134a.
Checking the type of refrigerant your car uses is necessary for this reason. If it uses an R12, you will need to make some plumbing and retrofitting changes to use this new gas.
This process is referred to as R12 to R134a conversion. But we’ll get to that later. For now, let’s examine what happens when an R12 AC system is filled with R134a gas.
What Could Occur If R134a Was Used In Place of R12?
In no way should you combine these two types of refrigerants. These are two various chemical substances. They therefore cannot be combined. Even though they are refrigerants, they don’t function well when combined.
You could have a lot of problems and harm your system. The operation of R12 systems differs from that of R134a AC systems. The first thing you will notice if you use R134a gas in an R12 system are the leaks that will form and harm your system.
Leaks and damage are possible with an air conditioner compressor. Fixing this might be an absolute nightmare.
These two systems also use different types of oil, which is another factor. The R12 uses mineral oil as one of them. The oil used on the R134a is incompatible with this oil.
The mineral oil may not be able to return to the compressor if the R134a comes into touch with it. As the heat won’t be dispersed outside, this could harm the compressor because it could overheat.
You can anticipate paying a significant amount to get the compressor fixed if it breaks down. Sometimes buying a new compressor that is compatible with R134a is the only option. Nevertheless, more on that will be covered later when we talk about changing R12 to R132a.
R12 to R134a Conversion: Why Is This Necessary at Some Point?
Yet, why would someone wish to convert from R12 to R134a? The basic explanation is that you need to add refrigerant because the system is deficient in it. R12, however, is not on the shelf. The only option, then, is to upgrade your system to use R134a as the refrigerant.
And even if everything in your system is operating as it should, you should still get rid of the R12 refrigerant because it harms the ozone layer. We must take action and carry out good and helpful deeds if we are to save the earth.
Thus, if you have a vintage car that still uses the original factory air conditioning unit, it could be time to upgrade it and give it a new lease on life.
Remove the harmful R12 and refit your system with the R12 to R134a conversion, which we will discuss in more detail later in the article. There, we will learn what are the essential parts of these kits and how to carry out this procedure.
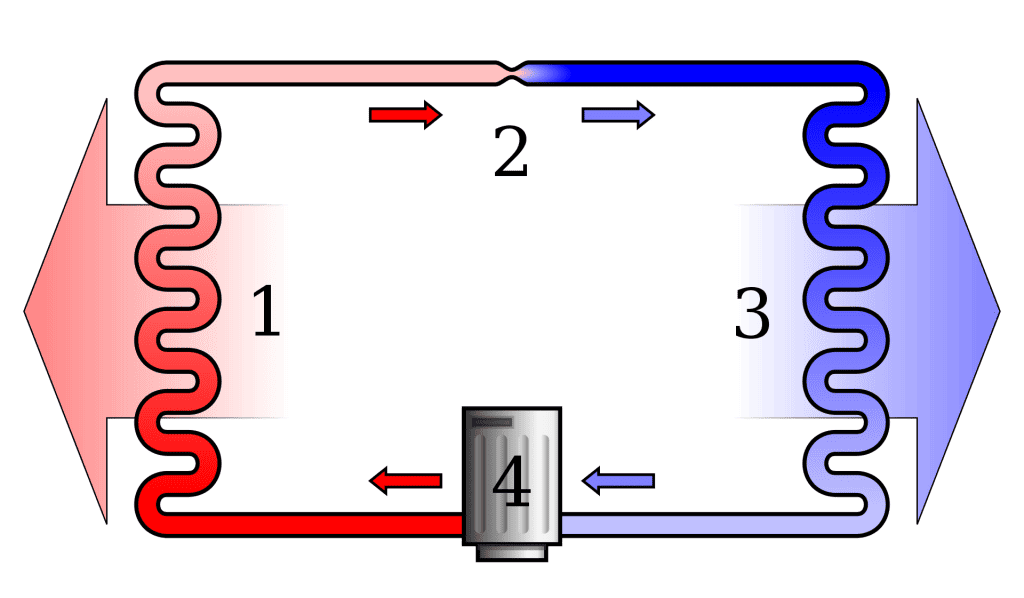
1) condensing coil, 2) expansion valve, 3) evaporator coil, 4) compressor. The compressor’s high-pressure gas is liquefied in the condenser. The condenser then pushes this liquid gas into the dryer. After passing through the dryer, a part that eliminates any moisture from the liquid gas, the liquid gas is delivered at high pressure into the expansion valve. In this expansion valve, the refrigerant is transformed from a high-pressure gas to a low-pressure liquid.
Is the R12 Freon Refrigerant Still Available In the Market?
Unfortunately, it’s almost impossible to find R12 refrigerant. You won’t find this product anywhere else because it has been off the market for almost 30 years. except for a few unsold cans that had been kept in a storage facility for years.
You don’t need the R12 in either case. It is unavailable everywhere and harmful to the ecosystem, as we already stated. Your AC unit’s conversion from R12 to R134a should be your sole priority in this scenario.
If you want to bring your AC system back up to date and make sure it uses the most recent refrigerant, R134a, a proper conversion is essential. But what parts go into upgrading an R12 system that already exists? Find out in the subsequent chapters when this subject will be thoroughly covered.
Which Parts are Used In the Retrofit of an R12 AC Compressor?
Before talking about how to convert from R12 to R134a. Let’s look at the parts that will be needed for this job first. You will mostly require a conversion kit for your particular AC unit. Since not all AC systems on every automobile are the same, you need to locate a specific unit.
There are numerous components in this kit. You will specifically need an AC cleansing kit for this task to remove the old R12 refrigerant from the system.
The HNBR O-ring kit for your car is the next thing you’ll need. You will also require an R134a retrofit kit with a port adaptor, port caps, oil, and a retrofit label in addition to this kit. You also need an orifice tube and pressure switch for R134a.
For vehicles manufactured before 1991 and without a dryer, you will additionally need a specific R134a dryer in addition to all of these parts.
It is also important to note that you will need to change the compressor if you are using a lesser AC compressor. Since the strain of operating the new R134a refrigerant is too much for these compressors to handle.
The Harrison DA6 and Ford FX-15 AC compressors are the most problematic models. The conversion from R12 to R134a will be simple if you swap them out for more recent models.
But how do you go about making this conversion? Can all of this job be completed at home? Yes, it is, and we will explain to you in the following chapter how you may complete this work at home using simple tools and the components indicated above if you want the conversion to be flawless.
An R12 to R134a Conversion: How to Do It Yourself?
Let’s talk about how to modify your system so that it can use R134a as a refrigerant now.
To be completely honest, nobody wants to shell out hundreds of dollars to mechanics for something as basic as refrigerant refilling or upgrading a vehicle to run on R134a.
Sometimes referred to as the major issue of this article, the conversion of R12 to R134a.
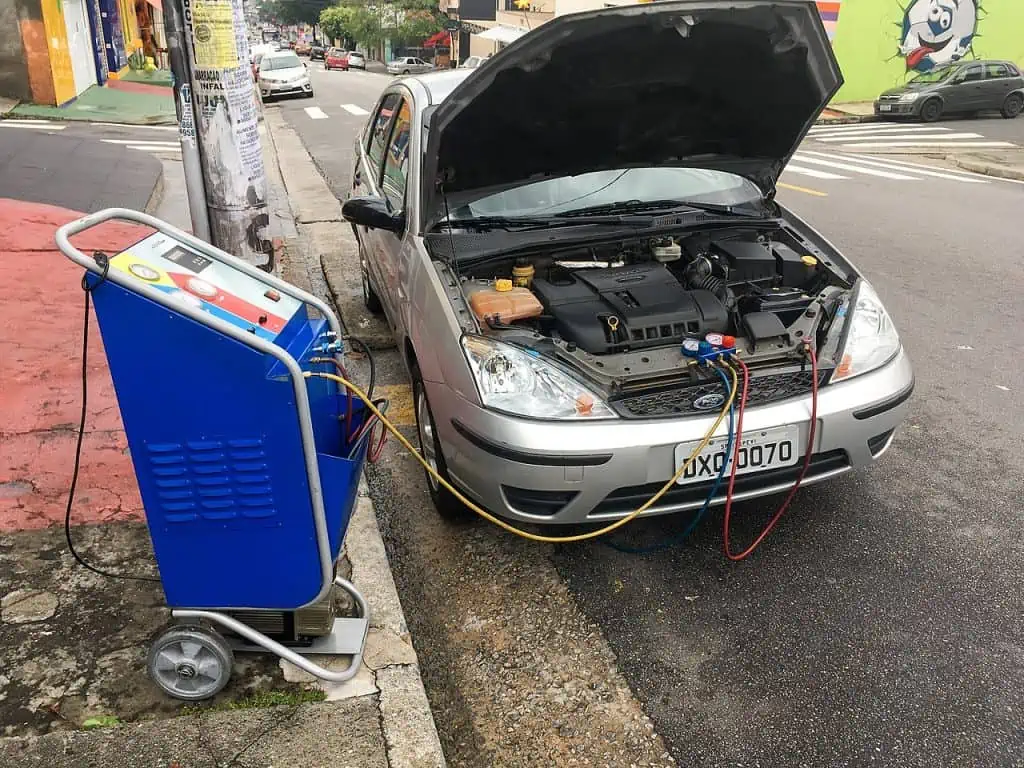
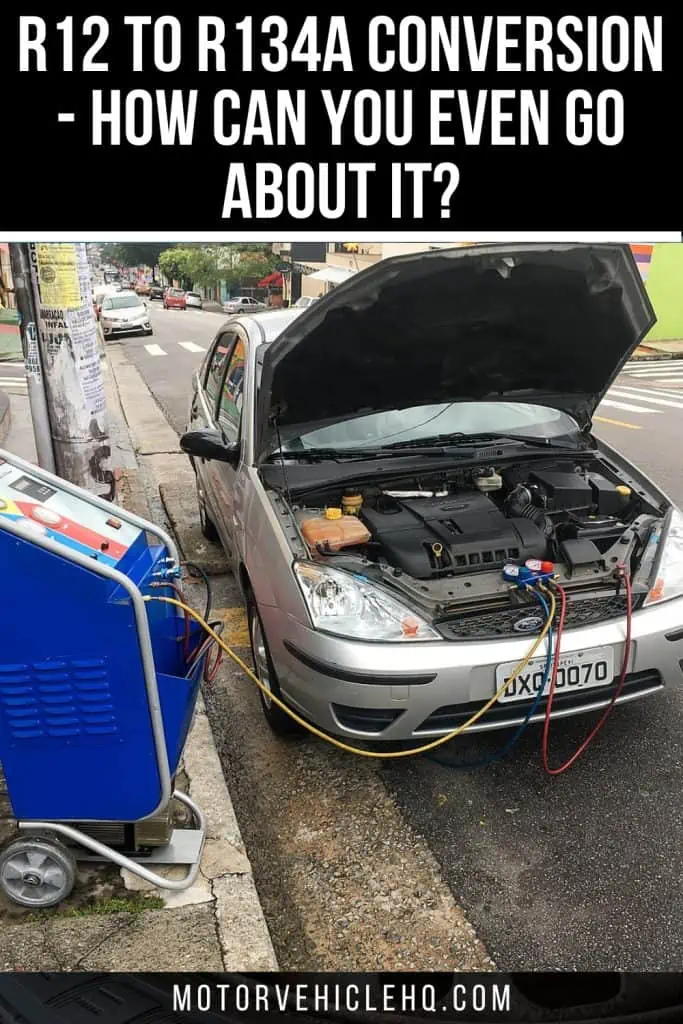
Regassing the air conditioning of a Ford Focus by Mike Peel / CC BY-SA 4.0. The AC system’s beating heart is the compressor. This compressor compresses the refrigerant, producing gas as a result. The heated gas is subsequently driven into the front condenser of the car, where the fan blowing in front of the car cools it. Here is where the magic happens. The compressor’s high-pressure gas is liquefied in the condenser.
Why spend a fortune when you can complete this task on your own at home using a simple tool? Make sure you have all the components needed for this retro fitment, though, before you begin the process.
Every car has a special kit with a manual that contains all the information you require for this process.
To put things in perspective and give you a better notion of what to expect from this activity and whether you can do it or not, we will also explain to you how this work is done, so don’t worry.
It will be my pleasure to walk you through the process in either case. Keep in mind that we are discussing the proper procedure and how this would be done at a dealership. So let’s start.
Step 1
The leftover R12 must be taken out in the first phase. Keep in mind that you have no idea how much R12 the system has, therefore your top priority should be flushing the system to ensure that nothing is within.
Both the environment and your health may suffer if you release this gas into the atmosphere. It’s not what you want. Obtain a flush kit and dispose of the R12 correctly.
Step 2
The evaporator and condenser must be cleaned of the mineral oil in the following step. Modern systems use synthetic oil, whilst older systems use mineral oil. You cannot combine this oil.
The high pressure and suction lines must be clear of any mineral oil in addition to the evaporator and condenser. Refill the system with the prescribed amount of PAG or Ester once all the mineral oil has been released.
Step 3: Conversion from R12 to R134a
The third step will involve replacing some components with new ones. They include the orifice tube, high and low-pressure controls, and the dryer or accumulator.
Replace the hoses as well if the vehicle was made before 1991. You must also replace all of the O rings with HNBR O-rings in addition to this.
Step 4
Once all of these parts have been replaced, the next step is to attach a vacuum pump and a manifold gauge that has been programmed to pull the vacuum for around 45 minutes (this step is optional if you’re doing it at home).
However, it is still preferred to ensure that there are no leaks later on). Examine any potential leaks following testing. If there aren’t any, everything is OK.
Step 5
In step 5, the high and low port adapters must be connected, and R134a refrigerant must be added to the air conditioning system.
Verify that everything functions as it should after completing the last step to ensure that you are ready to travel. That is how a professional convert R12 to R134a.
What Amount of R134a Is Suitable for the AC System?
It’s crucial to remember that the quantity you must add to the new R134a is lower than what you typically add when using an R12 refrigerant. You need to look at the actual figures for your particular vehicle for this.
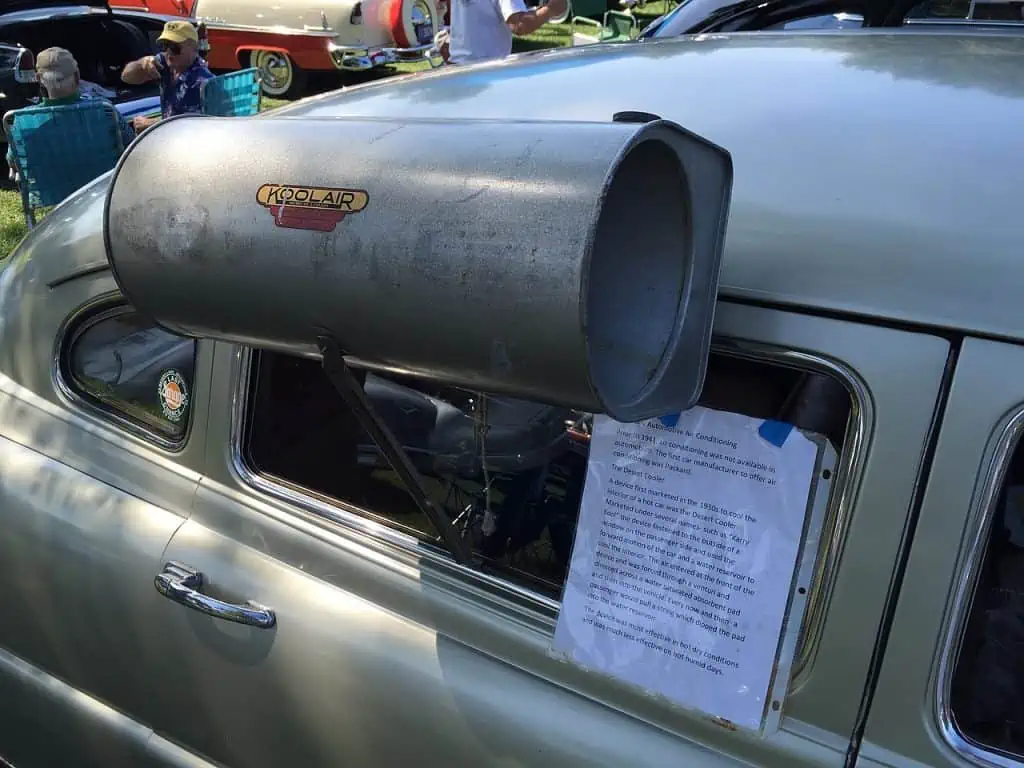
An ancient car cooler by CZmarlin / CC BY-SA 4.0. If you want to avoid an accident during the warm summer, being focused is essential when using an AC. especially if you live in the south where it is currently so hot. Sadly, a contemporary refrigerant cannot be used in a vintage. As a result, your car needs to get some work done. Also, we’ll help you locate the data you need.
But we’ll use a comparison to put things in perspective. Hence, if you are required to add 1.5 pounds of R12, you will only need to add 1.1 pounds of R134a.
I hope my point is clear. Make sure you don’t overfill your system by learning the actual R134a numbers for your automobile. Because the system won’t function properly if you make the R12 to R134a conversion, it is useless.
How Much Does It Cost to Conduct an R12 to R134a Conversion?
Whether you accomplish this R12 to R134a conversion yourself, have a technician do it for you, or have a dealer do it depends on how much it costs.
You can anticipate paying the least amount of money if you choose to convert R12 to R134a on your own. For the actual refrigerant and the parts, the budget to convert R12 to R134a is between $100 and $150.
If you want to go to a mechanic, you won’t spend much money on this service either; you can expect to pay between $200 and $300.
On the other side, you can be given a high price quote if you choose to do this at the dealership. To be more precise, about $550. This is why you should look for the lowest conversion method for R12 to R134a.
AC Retrofitting: Facts About Converting the Car’s R12 to R134a Air Conditioning System
Your car’s air conditioning system might still be using R12, a refrigerant that has been declared environmentally toxic and needs to be replaced with R134a if it was built before 1994.
Since R134a is lighter than R12, the system must be charged between 75 and 85% of its factory-set capacity to function properly.
When changing the system from R12 to R134a, the R12 refrigerant must be removed, which should be done by a qualified expert who can appropriately dispose of it.
To upgrade your R12 system, you must attach gauges to suck down the system for at least an hour, add new fittings to the low and high-side service ports, and label the connectors.
The yellow hose should be attached to the R134a can after the gauges are connected. Continue adding refrigerant until you reach the necessary capacity, which is less than what was required with R12.
It can be against the law where you live to refit your R12 system without replacing essential components like O-rings.
It could be time to upgrade and give your vintage car a new lease of life if it still employs the original factory air conditioning equipment. Refit your system with the R12 to R134a conversion, which we will cover in more detail later in the post, and get rid of the dangerous R12. There, we will discover the crucial components of these kits and how to perform this process.
Installing an R134a system can cost between $2,000 and $4,000, while hiring a professional retrofitter may run you about $250.
While R134a may not be as good at cooling as R12, it is significantly more forgiving of under and overcharging.
For many car types, there are specific conversion kits that include the components needed for the conversion; however, in some models, pressure switches may also need to be replaced.
Due to environmental concerns, R12 was gradually replaced with R134a. Never mix R134a with R12 or vice versa since this can result in expensive system breakdowns.
The Conclusion
We have talked about a lot of the R12 to R134a conversion in this article. We first gained knowledge of the AC system’s components and operation.
The types of refrigerants were then discussed. specifically, R12 and R134a. We discovered the need for the conversion and the reason the R12 is no longer manufactured.
After that, we discussed the parts you’ll need to replace and demonstrated how to complete the task at home with basic equipment and a retrofit kit.
Finally, we talked about the cost, which is not too expensive. You can hire a professional to conduct this work for about $250.
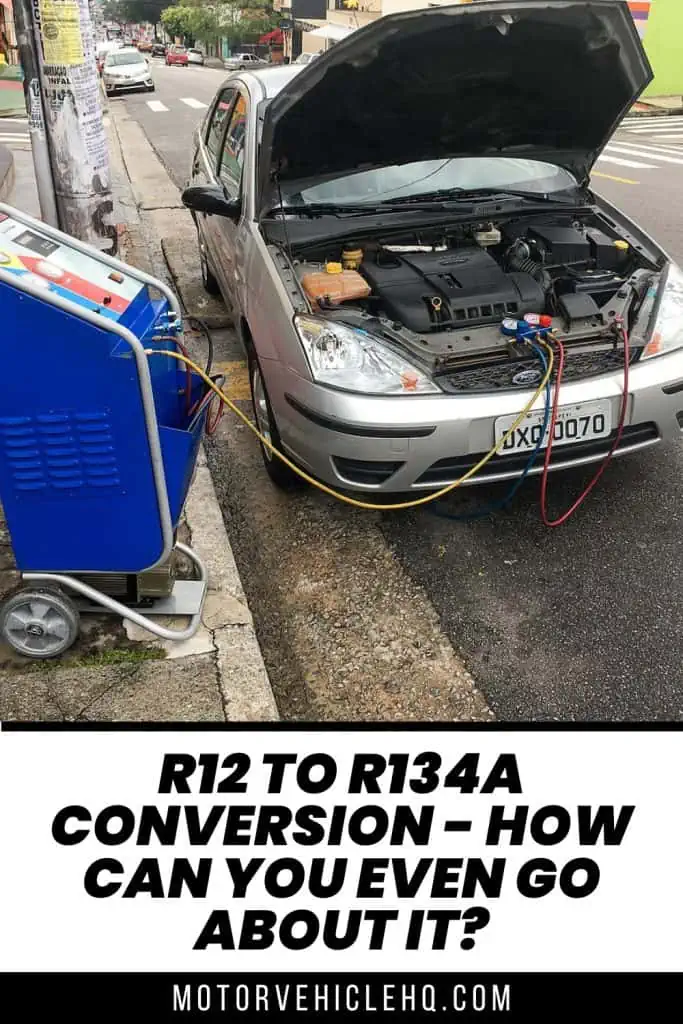
Regassing the air conditioning of a Ford Focus by Mike Peel / CC BY-SA 4.0

Jim Wicks is the founder of MotorVehicleHQ. With over two decades of experience in the automotive industry and a degree in Automotive Technology, Jim is a certified car expert who has worked in various roles ranging from a mechanic, car dealership manager, to a racing car driver. He has owned more than 20 cars over the past 15 years. Ask him about any vehicle you see on the road and he can tell you the make, model and year. He loves the aesthetics of all things cars, and keeps his vehicles in pristine condition.
In his free time, Jim enjoys getting his hands dirty under the hood of a classic car or taking long drives along the country roads. His favorite car? A 1967 Shelby GT500, a true classic that, according to Jim, “represents the pure essence of American muscle.”
