One essential car component you could find in various versions is the vacuum unit. The intake manifold on the majority of vehicles with vacuum pumps may not provide the required vacuum for several functions. One of the most typical problems with this system, a vacuum leak, should be fixed by a technician you can trust.
The vacuum system is crucial for operating other components like the controls for the brake system, pop-up headlights, and heating or air conditioning vents, which is why understanding it is important.
Back to a vacuum leak, which is a frequent issue, is something you could have run within your auto-repair profession. To comprehend the vacuum leak and be prepared should it occur, let’s take a closer look at it.
As excess, undesired air is introduced into the engine, a vacuum leak can result in a variety of drivability issues by leaning out the air/fuel mixture. Intake vacuum is used in modern internal combustion (multi-port fuel injection) engines to power sensors, actuators, and power brakes (on some vehicles). It is also used by certain older engines to regulate emissions and to draw fuel into the combustion chamber.
Therefore, even a minor vacuum leak can deceive you and your car’s computer into thinking that a certain sensor or component requires repair. Then, in an attempt to solve the issue, you start replacing components.
A vacuum leak is frequently detectable by an audible hissing sound, although occasionally you won’t hear anything. To identify difficult-to-find leaks, auto shops utilize expensive, specialized equipment. However, you may use easy methods to find the most typical vacuum leaks before you go to the shop.
This manual not only offers helpful repair advice and assists you in locating vacuum leaks or clogged vacuum hoses, but it also explains what engine performance issues might be an indication of a vacuum leak. Let’s start there, then.
The Definition of a Vacuum Leak
Let’s start by defining a vacuum leak so you know what to expect. There is a vacuum system leak present in this instance, mostly on the relay pipes. It will typically occur between the engine and the mass airflow sensor.
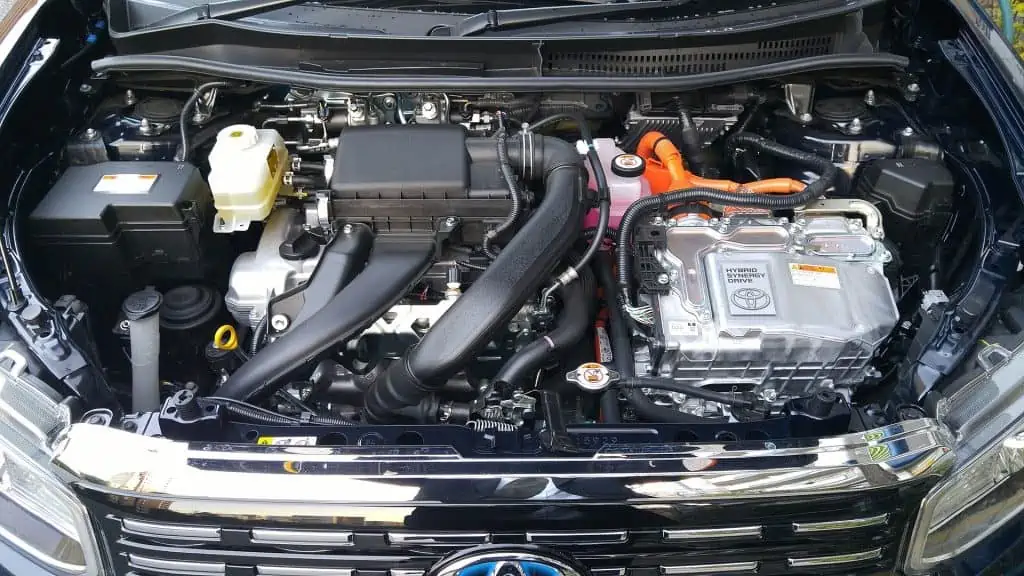
The car engine bay by CEFICEFI / CC BY-SA 4.0. A vacuum leak can cause several drivability problems by leaning out the air/fuel mixture as extra, undesirable air is pushed into the engine.
A leak will usually result in some sort of imbalance, particularly where the airflow is concerned, where it will be disproportionate and influence the mixing of air and fuel. More signs will point to a broken vacuum unit, and newer car models will warn you via specialized sensors.
Speaking of the air-fuel combination, it is crucial to the way your car drives and how efficiently it burns gasoline. Many indications lead to an unbalanced air-fuel combination, which can exceed a 14.7:1 ratio if the unit leaks.
This amount, known as the lean mixture, will provide a bumpy ride and is not something any driver would want in their car.
Let’s look at some other signs of a vacuum leak.
Which are the Common Symptoms of a Vacuum Leak?
1. Weird Sounds Emanating from the Engine Bay
One of the typical warning indications that anything is wrong with your car’s systems is noise, and you will also hear noise if there is a leak.
From the engine compartment, you’ll hear some hissing noises, which might be followed by white smoke. If you see this, the vacuum unit is likely malfunctioning, and you should inspect the pipes and other supporting structures.
2. Low Fuel Efficiency
You could observe signs of a fuel injector vacuum leak, such as low fuel economy. The fuel won’t burn properly as a result of the imbalanced air-fuel combination, which is mostly caused by an excessive intake of air.
A malfunctioning vacuum pump and its pipes will result in improper fuel use, which might cause consumption to increase. The problems are brought on by a delay in the combustion chamber’s exhaust gases departing. The accumulation of gases causes inefficient fuel combustion.
3. A Car Stalls
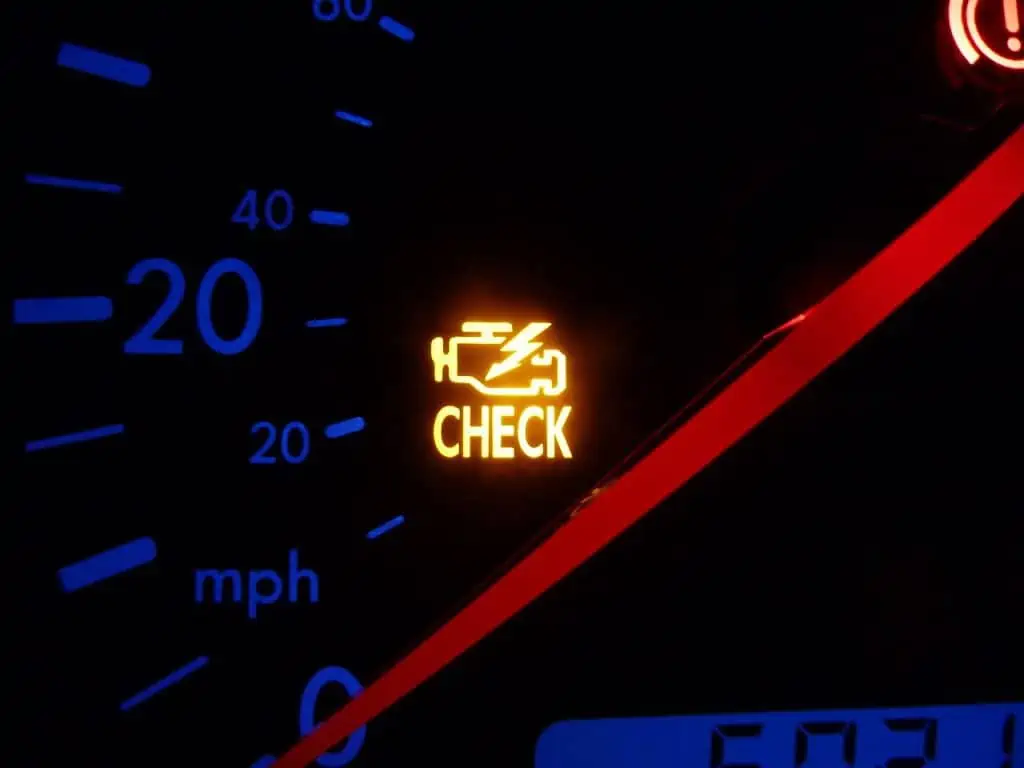
The problem with the gasoline burn, as mentioned above, may also cause the automobile to stall. When driving through steep terrain, it might have harsh idle or stall. A malfunction with the engine will also cause the check engine light to illuminate.
The mass airflow sensor and fuel injector are both impacted by a failed vacuum pump, and when one of these components fails, the light will come on. As a mechanic, you should examine the engine to identify the issue and rule out others if you see the check engine light coming on.
4. Leakage of Oil
The vacuum pump is either on the left or right side of the vehicle, and it requires oil to operate efficiently and at a constant temperature.
Oil leaks may indicate a problem with the vacuum system, therefore you should investigate.
It may be the result of the rupture of the oil compartment, which also affected the vacuum hoses. If you hear hissing noises in addition to the leaks, the vacuum is likely the cause.
5. Pressing the Brake Pad Is Difficult
In large diesel engines, as was already noted, the vacuum unit regulates the brake system. The brake pad will be difficult to press when the vacuum pump malfunctions, which is one of the signs you may notice. The pump’s vacuum assists to provide the proper suction so that you can start braking.
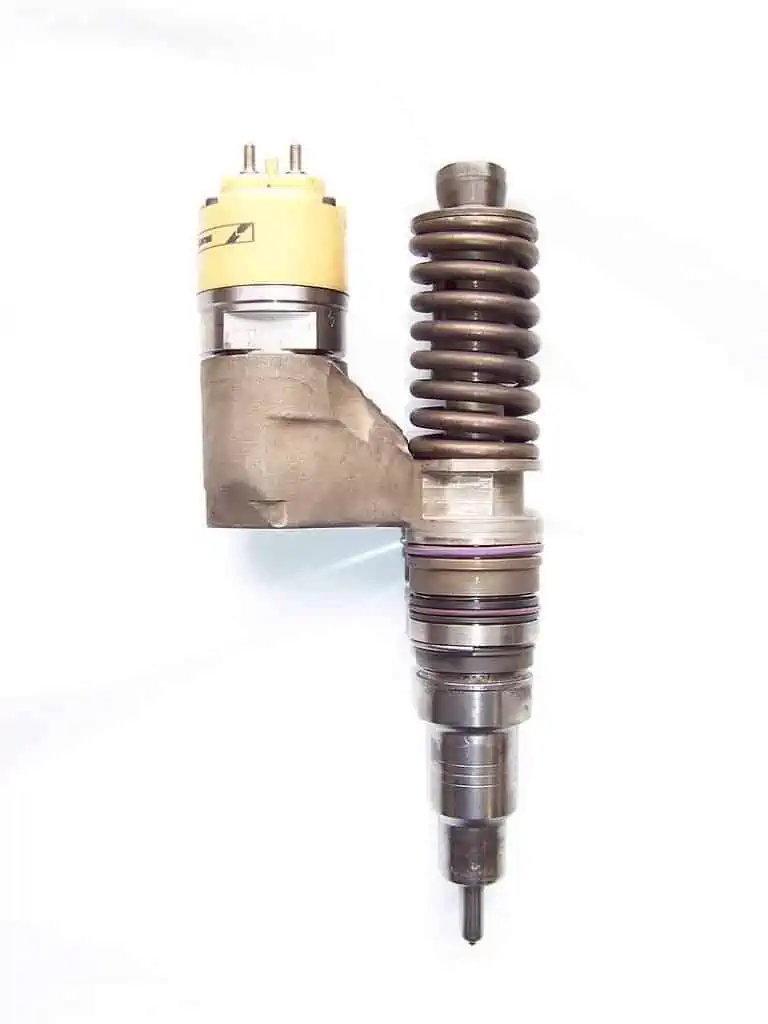
A car fuel injector by Panoha / CC BY-SA 3.0. Low fuel efficiency is one of the symptoms of a fuel injector vacuum leak that you might notice. The uneven air-fuel combination, which is mostly brought on by an excessive intake of air, will prevent the fuel from burning properly.
Even though the brake pad in a diesel engine is difficult to push, it can be easily made to slide down. But if there isn’t a vacuum, pressing on it could feel hard and uncomfortable. If you experience this problem, you should examine the vacuum pump and the complete brake system.
6. Common Engine Failure
There are some additional problems with the engine besides stalling and check engine lights coming on. The difficulties may manifest as rough idling, accelerator troubles, or an abnormally quick idling speed.
The hissing, a distinctive vacuum leak sound, is another. If it is more noticeable, you will hear it when you start the car. To be proactive with your examination, keep an eye out for engine blow-by.
7. Unusual Smoke
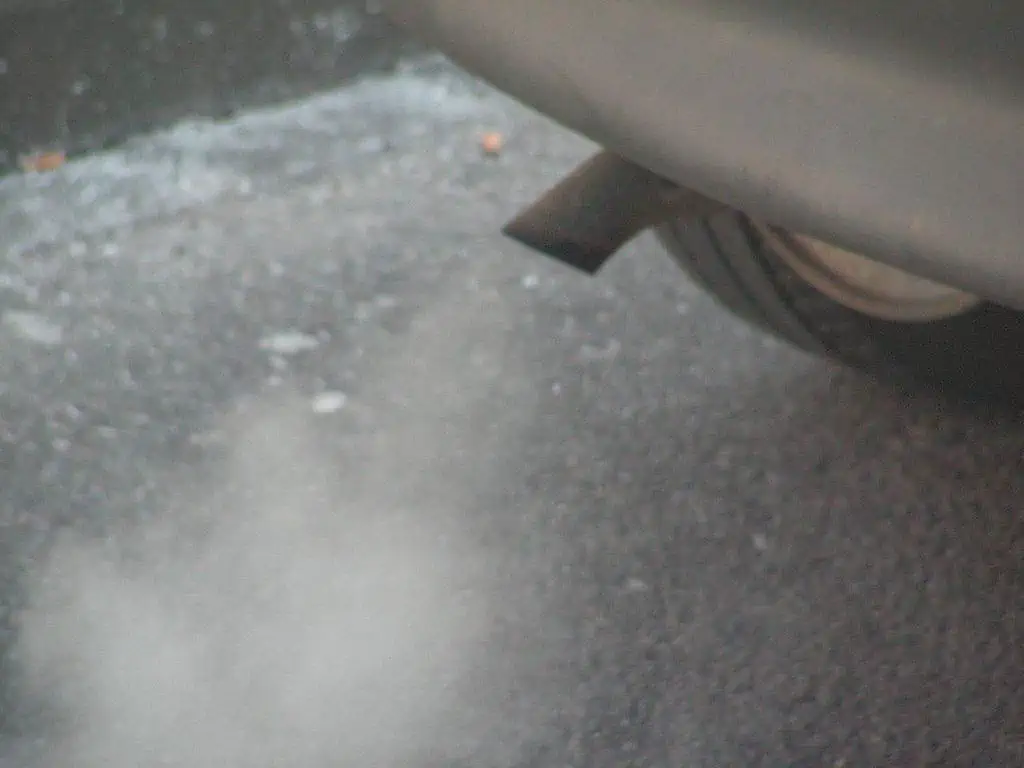
Car exhaust emissions typically signal a problem. You can see white smoke or black smoke, with the former being more typical of vacuum leaks since incomplete combustion is caused by a poor air-fuel combination. It causes an accumulation of exhaust gases, which will emit a dark color.
Why Do Vacuum Leaks Occur?
Here are a few of the main reasons why the vacuum system malfunctions.
- Hose pipe or vacuum tube damage.
- Connections that are worn out, particularly the rubber and plastic parts.
- Defective brake booster
- The EGR sticks out because of carbon buildup.
- O ring issues lead to the vacuum leak in the intake manifold.
When Should I Check for Possible Vacuum Leaks?
A frequent cause of issues with engine performance is vacuum hoses. Vacuum hoses degrade, harden, split, or soften with time, and vacuum tubing deteriorates, becomes brittle, and breaks, leading to a variety of issues with engine performance.
So, anytime you experience engine performance issues and are unable to identify their cause, incorporate a vacuum leak diagnostic into your repair plan.
You can come across a variety of sensors and actuators that require a reliable vacuum source to function, depending on the make and model of your specific car. For instance, some engines employ a Manifold Absolute Pressure (MAP) sensor, which needs a vacuum to gauge the pressure of the outside air.
A MAP sensor vacuum leak can affect engine stability and efficiency as well as ignition timing. Additionally, a vacuum leak can stop an EGR valve from opening, increase hazardous emissions, and lead to engine overheating. Additionally, the Positive Crankcase Ventilation (PCV) system may be impacted by this kind of leak.
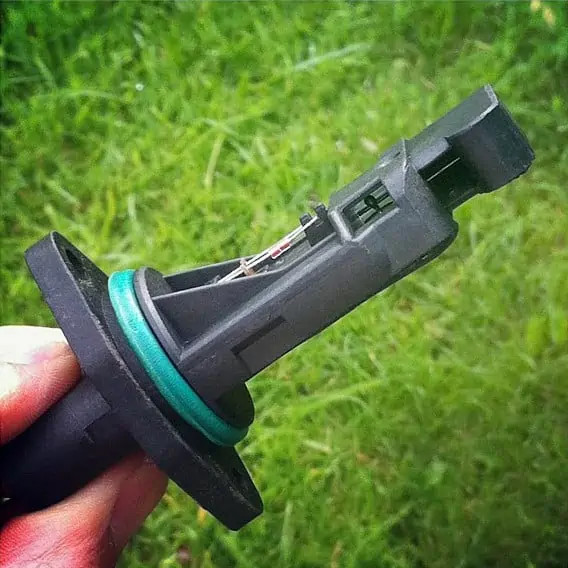
The Mass Air Flow sensor by The RedBurn / CC BY 2.0. A failing vacuum pump affects both the mass airflow sensor and the fuel injector, and when one of these parts fails, the check engine light will illuminate.
Finding a Vacuum Leak: A Comprehensive Guide
- Where do you begin if you want to check for vacuum leaks and you’re having a performance issue with your engine?
Find your vehicle’s vacuum diagram first. A vacuum diagram may be included in your vehicle’s owner’s handbook, but most automakers also include one within the engine compartment. In the front of the engine compartment, lift the hood and search for a sticker there.
If you can’t locate one in your handbook or the engine bay, you may purchase one at the service counter at your local dealer. The owner’s manual for your car is another resource. Online or at your neighborhood auto parts store, you may get a reasonably priced aftermarket automobile repair handbook.
You may utilize the repair manual’s wealth of valuable information to maintain and diagnose a variety of auto systems. You’ll thus make a wise investment.
The many vacuum-controlled devices are displayed together with their connections in the vacuum diagram. The similarities and locations of the components are shown in more recent vehicle models.
- With the vacuum diagram for your car in hand, you may begin investigating any potential vacuum leaks. You can continue the next steps even if you don’t currently have the diagram.
(Note: Your auto computer may be altering the air/fuel ratio to compensate if you are trying to identify a potential vacuum leak because of a trouble code you obtained after your Check Engine Light turned on, in which case the engine might not sound like it has a performance issue.
If so, remove the oxygen sensor or throttle position sensor to let the computer run the engine in “hard code” mode (open loop), which will allow you to hear the rough idle. The vacuum leak source will be simpler to find as a result of your diagnosis.)
You can start with a specific device (or a few) if you suspect them. Otherwise, start by examining each pipe according to the schematic. Check each suction hose as you circle the engine if you don’t have the schematic.
Except for the brake booster’s vacuum pipe, which is heavier and more robustly built, and perhaps the PCV hose, most vacuum hoses are thin and squishy.
When diagnosing vacuum leaks, it’s important to carefully examine the hose, check that it’s attached, and listen for the distinctive hissing sound made by the suction leak.
A hissing sound from a faulty vacuum hose or gasket, however, may be hard to detect over the sound of a running engine. You may either use a mechanic’s stethoscope, which helps magnify the noises in your ear, or a piece of hose, which serves the same purpose.
Once you are aware of the warning signs and symptoms of a vacuum leak, you must locate it and fix it. Finding a leak can be challenging, particularly if it is little. Here are a few methods for locating a vacuum leak.
1. Carrying Out an Inspection
Through general inspection, a vacuum leak can first be located. Here, you may visually inspect the parts of the vacuum pump. Check the connections with a critical eye, keeping an eye out for worn-out areas.
You will frequently see burned rubber and shattered plastic. You may also start the car and hear where the hissing sound is coming from. This may help you locate the troublesome area.
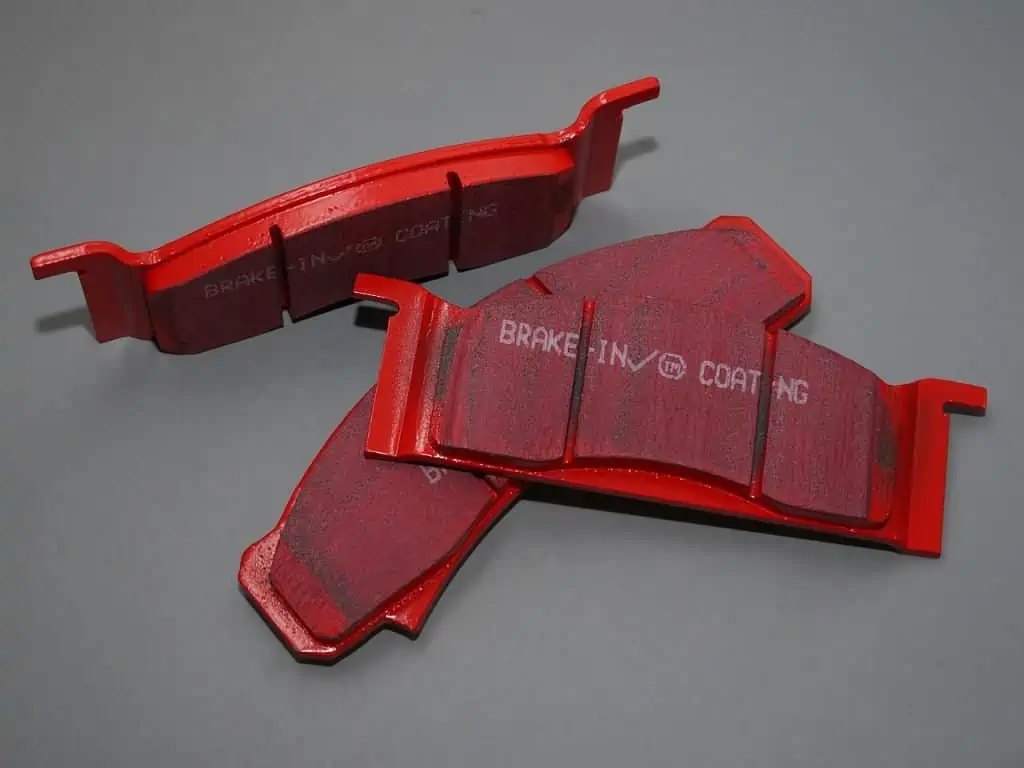
Brake pads by Treemonster86 / CC BY-SA 3.0. One of the indications that the vacuum pump is failing is that it will be challenging to push the brake pad. The vacuum created by the pump helps to create the necessary suction so that you may begin braking.
To determine whether there is a connection issue, try shaking the hoses and clamps.
2. Use Soap and Water to Inspect for Vacuum Leaks
How to use soap and water to check for vacuum leaks is a skill you’ll need in your mechanical profession. In this case, you’ll need to combine soap and water and pour the mixture into a spray bottle. You might focus on the vacuum’s hoses as a quick and inexpensive technique to look for leaks.
If there are any leaks, you can detect them by spraying the inlet area and the hoses while the engine is running.
3. The Use of a Smoking Machine to Check for Vacuum Leaks
Using a smoke machine is a reliable approach to examining the vacuum system of the automobile for leaks. It is a quick and effective method that pinpoints the exact problem.
By using this technique, you first take off the intake manifold cover and then the intake tube from the throttle body. With an airtight covering, such as a rubber wrapper, you should seal the intake.
As the smoke fills up at the entrance point, you now attach the smoke machine to an appropriate outlet, such as the brake booster, and turn the smoke button on. There will be a lot of smoke pouring out of some spots when the smoke machine is running, which indicates a leak.
4. Finding a Leak with WD40
Using WD40 is another option for searching for leaks. The versatile solvent WD40 is frequently used in auto repair shops. You can easily find leaks in your car’s system if you have it on hand.
Your engine should be running, ideally at idle, so that you may use WD40 to check for vacuum leaks. Next, you liberally apply WD40 on the intake and hoses. Keep an eye on the engine speed while you spray; any decrease is an indication of leaking. Additionally, you should use caution when utilizing this sprayer to prevent overlooking the signs of a systemic anomaly.
Using any of the aforementioned techniques, you must be very careful not to overlook any area when looking for leaks.
5. The Use of a Vacuum Gauge
If required, you may also utilize a vacuum gauge to further verify the existence of a vacuum leak. Your neighborhood auto parts store could let you borrow one if you don’t already have one or don’t want to buy one right now.
Observe both the guidelines provided on the page mentioned above and the instructions that come with the tool.
Pay close attention to how the needles move. A gasket (intake or throttle) leak may be the cause of a continuous low or very low reading, among other possible problems.
6. Testing Devices for Vacuum Leaks with a Hand Vacuum Pump
Finding a vacuum leak may frequently be accomplished with a thorough visual and manual check like the one shown above. Though not always.
Some vacuum-operated components may sustain internal damage (a diaphragm may rupture, for example). And neither touch nor sight can be used to detect this kind of injury.
This is the next stage in your troubleshooting process if you think there could be a vacuum leak but can’t locate the cause.
Check engine light by Wikiuser100000 / CC BY-SA 3.0. In addition to stalling and check engine light illumination, the engine has various other issues. The issues could show up as rough idling, accelerator issues, or an erroneously high idling speed.
You’ll want a hand-operated vacuum pump for this. You can get one online or at most car parts retailers. The vacuum pump is useful in emission system troubleshooting. But if you don’t want to buy the tool right now, you might be able to borrow one from your nearby auto parts shop.
For operating instructions, go to the vacuum pump’s handbook, and for procedures to troubleshoot the component you need to test, consult the repair manual for your specific car.
A gadget may occasionally need troubleshooting under certain working circumstances or in combination with another tool. Although it may seem difficult, you don’t need specialized expertise to perform this kind of troubleshooting.
However, you must still adhere to the tool’s operating guidelines and the troubleshooting instructions in the repair manual.
When utilizing a vacuum pump, remember to:
- Use the proper diameter connector or hose to connect the pump to the device, and make sure the connection is tight.
- Use only the appropriate amount of vacuum when testing a device (usually 10 to 15 in Hg; consult your repair manual).
- The hand pump and the device you want to test should be connected with as few connectors, adapters, and hoses as possible.
Verification of Each Vacuum Hose
The following procedures should be followed to inspect each vacuum hose while maintaining a safe distance from any moving parts:
- Idle the engine after starting it. Apply the emergency brake and put the transmission in Park (for an automatic) or Neutral (for a manual).
- Make sure the hose is securely fastened and isn’t hanging loose. It’s simple to unintentionally knock a hose loose when performing maintenance or replacing a part. To check on difficult-to-reach areas, like behind the intake manifold, throttle body, or exhaust manifold, you might need to use a small mirror and a flashlight.
- Disconnect the plug and check the hose’s two ends. Cut off the damaged portion of the hose and plug it back into the fitting if the interior end is torn, worn, or widened.
- With your fingers, trace the length of the hose to check for any rough, hardened, splitting, softened, or out-of-shape areas, particularly near the hose’s concealed underside. Additionally, feel around those rough or uneven areas for any vacuums.
- A hot surface may be nearby or the hose may even be touching it.
- Additionally, look for looseness and cracks in hose connectors, tees, and unions. As required, swap them out.
- Pay close attention to the check valve that joins the vacuum hose of the brake booster. You might hear a hissing sound if there is leakage.
- By using a pair of Vise-Grip pliers to block the vacuum hose at idle, you can check for leaks in brake boosters. To avoid harm, place a shop cloth between the pliers and the hose. Check the brake booster and valve if the rough idle becomes smoother.
- Additionally, check the hose for contamination, such as oil, coolant, or other substances. Check inside the device connector after removing the hose from the device it is connected to. If you discover a foreign object inside the hose, contamination may have entered the device as well, making it likely inoperative. You might need to check the device’s functionality.
- You should also look at the things the vacuum hoses are connected to as part of your visual inspection. Look for cracks, dents, and loose parts on the devices. These might also cause a vacuum leak. Pinch the vacuum line going to the appliance, give it a quick wash with some soapy water, and listen for a change in idle speed.
- Replace any hose that has softened, hardened or damaged areas.
To assist you to check for leaks, you may also spritz water on a hose, ports, and connections.
Checking for Vacuum Leaks In the Intake Manifold
Although vacuum hose leaks are more common, intake manifold gasket leaks can still occur. Check the base gasket between the intake manifold and throttle body or carburetor and the intake gasket between the manifold and cylinder head if your earlier inspection revealed no issues.
You may examine these gaskets using one of two straightforward alternate methods:
- Spray a bottle of soapy water.
- A hose (or stethoscope for mechanics).
Any of these approaches is beneficial.
- Turn on your emergency brake.
- Put your automatic transmission in Park or Neutral (manual).
- To make the vehicle safer and immobile, block the wheels.
- Idle the engine after starting it.
- Spray some of the soapy water around the base of the carburetor or throttle body and the area where the intake manifold connects to the cylinder head. Don’t forget to visually inspect the intake manifold for any cracks and wet any potential trouble areas.
- If the engine idle changes, pay attention to it.
- You’ve discovered the vacuum leak if the engine becomes smoother as you spray water on it; bubbles may also be visible where the vacuum leak is.
NOTE: To utilize a hose (or mechanic’s stethoscope), place one end against your ear and slide the other end of the hose around the gaskets on the carburetor, throttle body, and intake manifold. You’ll hear a hissing sound if there is a leak.
If you discovered a vacuum leak at the intake manifold or the throttle body’s base, start by tightening the mounting bolt for the intake or throttle body:
- In a crisscross pattern, gradually tighten the bolts; when tightening a manifold, start in the center and work your way out.
- Using a torque wrench, tighten the bolts to the specified torque specified in your vehicle repair manual.
- Repeat your search for the vacuum leak.
- You’ll need to swap out the throttle body or intake manifold gasket if the leak persists.
- To replace either gasket, adhere to the directions in your vehicle repair manual.
How to Fix a Car Vacuum Leak
The next step is to fix the damaged areas of your car so that everything is back to normal after locating the problem areas. The steps for repairing a vacuum leak are listed below.
Checking for oil leaks by Aaberlanga / CC BY-SA 4.0. Oil leaks may point to a vacuum system issue, therefore you should look into it.
1. Closing the Holes
You must address the system’s weak points after identifying them; the first step is to seal the holes. Draw a map of the affected areas, which are typically those near the hoses. Bring a high-grade sealant to fix the holes and clean the hose’s surface.
To seal the hole, you can also use super glue and a patch, but there are drawbacks, like the patch coming off. Make sure the area you are repairing is not exposed to heat when using the sealing glue because doing so could cause the glue to melt and leave the holes exactly as they were.
2. Fix Replacements Where Necessary
Using a sealant won’t work if the holes are excessively large or numerous. It is a possibility to change the hoses. Leaks can be resolved with high certainty and little chance of recurrence by replacement.
3. Check Out and Fix the Vacuum Unit
Additionally, you should examine the entire vacuum unit and perform any necessary repairs and replacements. There could be difficult to see underlying issues. Examine the connections, and if any seem faulty, repair the nuts and clamps.
Once finished, the vacuum pump leakage issue is resolved, and you are ready to go. If at all possible, start the vehicle and go for a test drive to check for any additional problems that might indicate a system failure.
Tips for Fixing a Leaking Vacuum Hose
It’s not always necessary to replace vacuum hoses when dealing with damage to them. A vacuum hose frequently only needs a quick fix that will only take you a few minutes.
- A broken vacuum hose end can be fixed in under a minute. Most of the time, you can get away with trimming the end of the hose off by about half an inch and reconnecting it.
- Dealing with a vacuum hose’s middle-end damage requires caution. Simply cut out the damaged area and use a union to reattach the two pieces if the hole is less than half an inch in size.
- To prevent confusion, fix one vacuum hose at a time. Some automobiles, particularly those made by Asian automakers, have multiple vacuum hoses that, because of the various ways they can interconnect, can be challenging to repair. You can find 1-, 2-, 3-, 4-way, and elbow connectors to handle almost any type of hose routing and repair in these situations.
- Always label the hoses and the corresponding connectors or fittings to ensure proper installation of new or repaired hoses.
- Use your vacuum diagram to reconnect any disconnected hoses to the right fittings you find.
- Route and secure the vacuum hose away from hot surfaces and moving parts after repairing.
- Always swap out a vacuum hose for one that is the same diameter, and length, and suitable for the job at hand (PCV, brake booster, or regular vacuum).
The Conclusion
One of the essential parts of many vehicles that helps run various systems is the vacuum unit. One of the most frequent issues with this system is leakages, which manifest as transmission problems, hissing noises while driving, and stalling.
Given how common this issue is, knowing how to fix a vacuum leak is a valuable skill that you can learn from this article. If you follow the instructions, you will be an expert at locating and fixing vacuum pump leaks.

Checking for vacuum and oil leaks by Aaberlanga / CC BY-SA 4.0

Jim Wicks is the founder of MotorVehicleHQ. With over two decades of experience in the automotive industry and a degree in Automotive Technology, Jim is a certified car expert who has worked in various roles ranging from a mechanic, car dealership manager, to a racing car driver. He has owned more than 20 cars over the past 15 years. Ask him about any vehicle you see on the road and he can tell you the make, model and year. He loves the aesthetics of all things cars, and keeps his vehicles in pristine condition.
In his free time, Jim enjoys getting his hands dirty under the hood of a classic car or taking long drives along the country roads. His favorite car? A 1967 Shelby GT500, a true classic that, according to Jim, “represents the pure essence of American muscle.”
